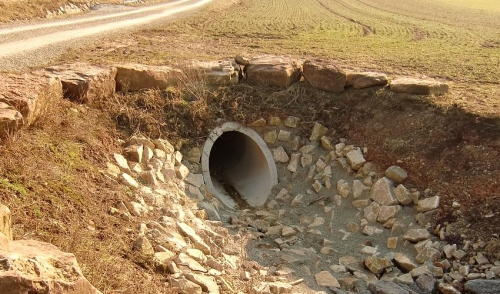
DIY Tips for Installing a French Drain
A French drain is typically used to alleviate drainage issues in your yard, lawn or garden. These problems often occur in situations where land is at or near the bottom of a slope. The water then settles (especially in areas with dense, poorly draining soil) and can create a swampy, often unusable yard for much of the year. A French drainage system is a simple, time tested technique that can often solve these issues. A French drain (also known as a curtain drain) is historically a simple dug trench that is either partially or completely filled with gravel, allowing the water to collect and run down its slope to a more appropriate area. The more modern interpretation of a French drain involves the use of either rigid or corrugated drainage pipe (perforated) to be placed in the trench and then surrounded by gravel and landscape fabric. This will ensure that the drainage system will be more effective for a longer period of time.
If you’ve decided that a French drain is the right choice for your drainage woes, consider the following tips:
- Choose a location for your trench to be as far away from obstructions as possible.
- Make sure your drainage water won’t have any negative effects on neighboring property. They say good fences make good neighbors. A bad drain –probably not so much.
- Before digging, make sure there are no utility lines or pipes at risk of being severed in the process. Contact your local utility company and they’ll make sure any underground lines are located and marked for you.
- Depending on the volume of water to be dispersed, best results can be achieved by making the trench between 8 and 12 inches wide, rather than 6 inches. A wider trench can more effectively collect and transport a large volume of water.
- It is best to have a plan on where to put your excess soil once the trench is dug. Since you will be replacing most of the old soil with piping and gravel, you will have quite a bit of extra soil to find a home for. Try to locate any low spots on the property that could benefit from a little fill and plan accordingly.
- The slope of your drain should be at least 1%, meaning 1 foot for every 100 feet. A good technique to ensure you are staying with the proper pitch, is to hammer in two stakes at each end of the planned trench. Attach a string between the stakes and pull it tight. Hang a line level on the string and adjust until level. Next, determine the amount of drop there will be from one end to the other and lower the string the appropriate number of inches. Your string will now duplicate the slope you need. Simply use the string as a guide as you go and dig a consistent depth below the string.
- Once your trench is dug, line the bottom with landscape fabric. Lay the fabric open so that the excess runs up both sides of the trench, to the top. Make sure it is the permeable type, which will allow water through. Using a fabric layer will prolong the effective life of the drain by helping to keep roots and silt from clogging the system.
- Place a minimum 2 inches of gravel in the trench before laying the drainage pipe. It is important to have the perforated holes in the pipe facing down. Then cover the pipe with gravel so that it is completely surrounded, leaving at least 2 inches of gravel over the pipe.
- Fold the excess fabric over, to encase the pipe in gravel and protecting it from silt and roots.
- It is acceptable to cover the encased drain with either more gravel (up the level of the ground) or simply add a layer of gravel, followed by sand and topsoil.
Depending on the size of the trench you’ll need to dig, as well as the type of soil you’ll be contending with, it is possible to do dig by hand, using only shovels. With the help of a few friends, it is surprising how fast the trench can be dug. Other options for digging are renting a trenching tool or hiring someone to dig your trench with a backhoe. For the tools, drainage supplies and advice you need, come in and feel free to ask our experts and we’ll be happy to help.